How to Install Polycarbonate Roofing
Roofing Options
Introduction
Welcome to Glass Works Of Texas, your trusted experts in home and garden solutions. In this guide, we will walk you through the process of installing polycarbonate roofing. Whether you are a DIY enthusiast or a professional contractor, our step-by-step instructions will help you achieve a successful installation.
Chapter 1: Choosing the Right Materials
Before diving into the installation process, it's essential to select the appropriate polycarbonate roofing materials. Consider factors such as thickness, color, and UV resistance. At Glass Works Of Texas, we offer a wide range of high-quality polycarbonate roofing options to suit your specific needs.
Chapter 2: Measuring and Preparing the Area
Prior to installation, accurate measurements are crucial. Carefully measure the dimensions of your roof to determine the required amount of polycarbonate sheets. Prepare the area by clearing any debris, ensuring a clean and stable surface to work on.
Chapter 3: Installing the Framework
An adequately structured framework is essential for the proper installation of polycarbonate roofing. Whether you are working with a new construction project or replacing an existing roof, carefully follow the manufacturer's guidelines to ensure a structurally sound framework.
Chapter 4: Cutting and Fitting the Polycarbonate Sheets
Once the framework is in place, it's time to cut and fit the polycarbonate sheets. Use the appropriate tools, such as a circular saw or a specialized polycarbonate cutter, to achieve precise cuts. Take note of any necessary adjustments or additional fittings required to ensure a proper fit.
Chapter 5: Securing the Sheets
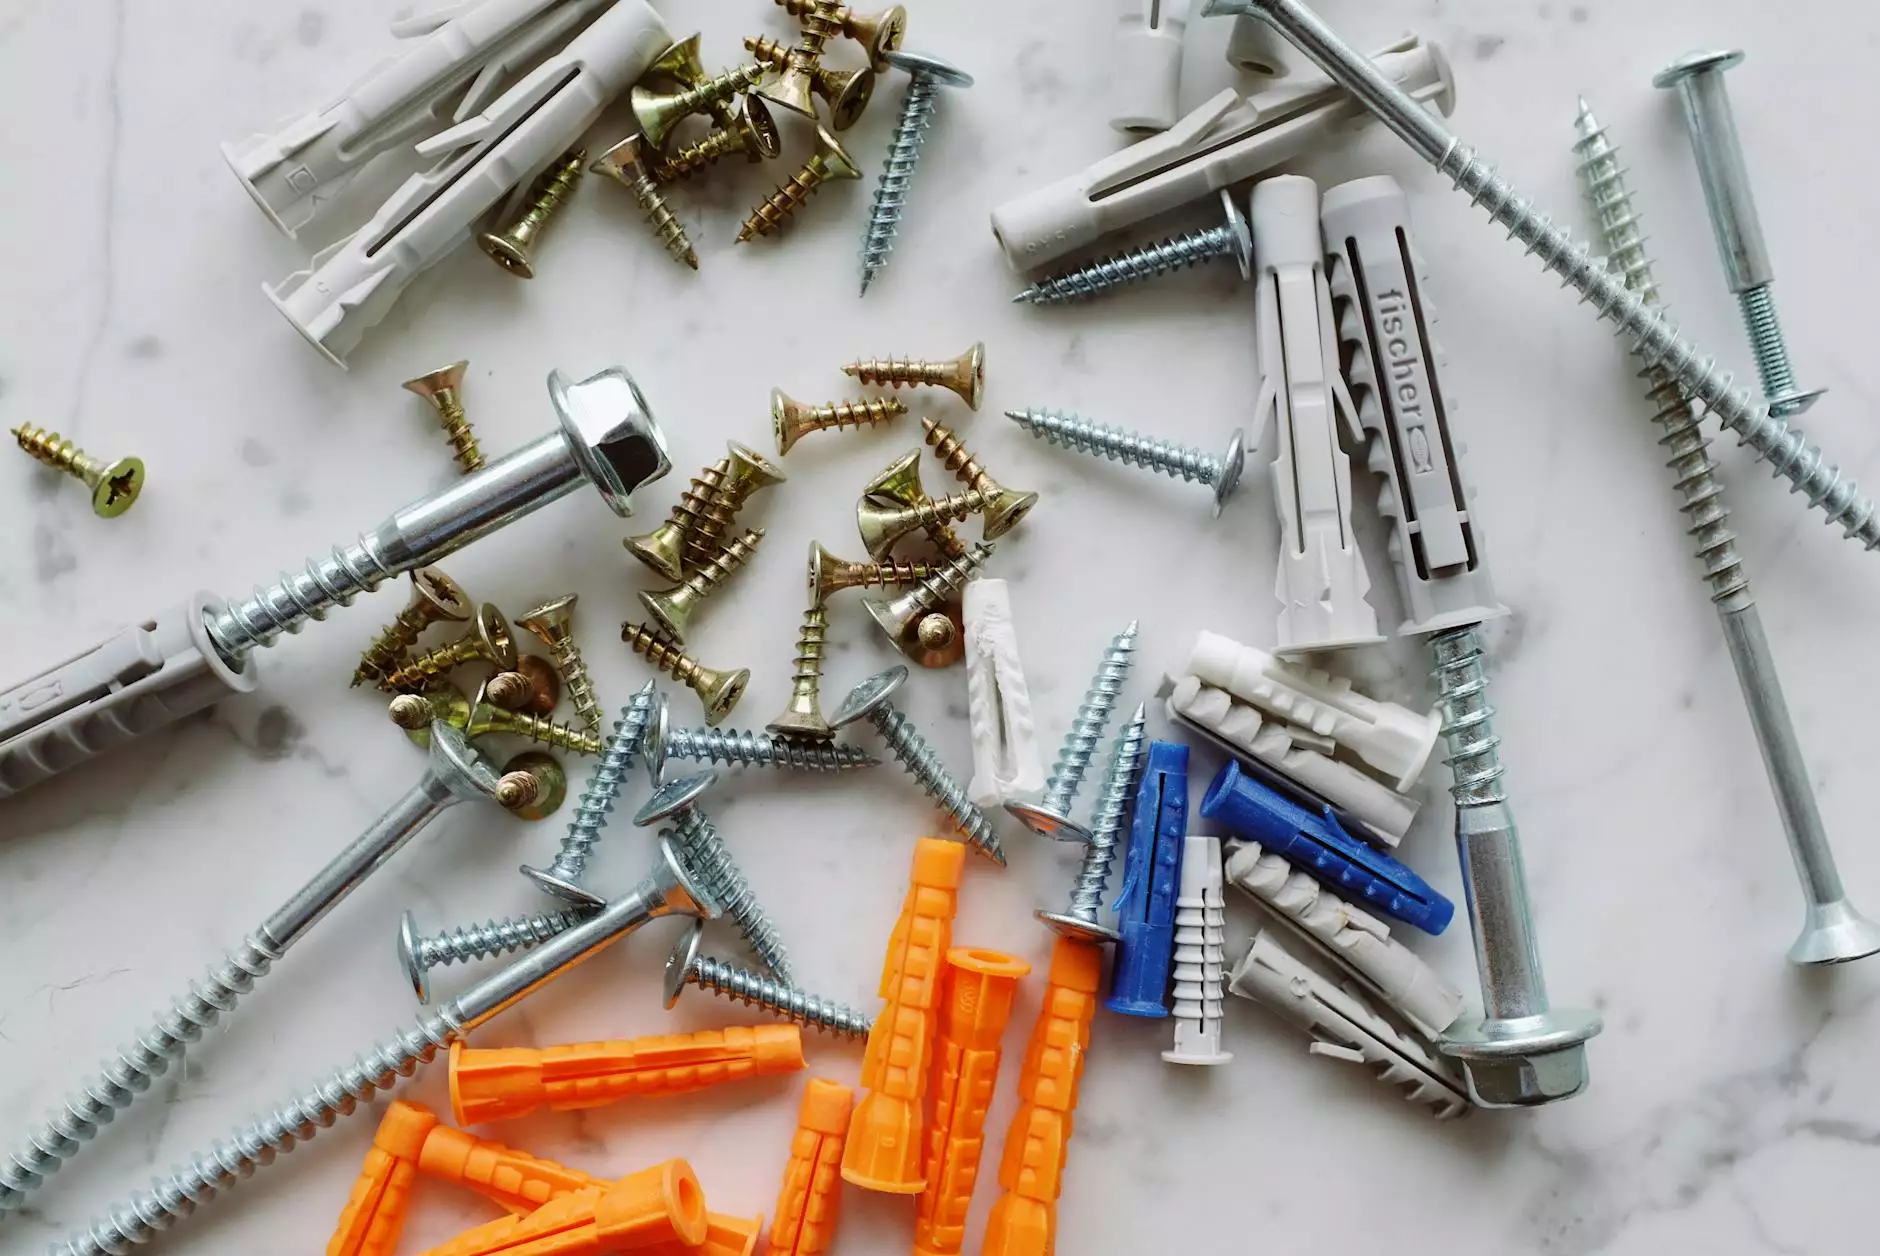
Properly securing the polycarbonate sheets is vital to ensure long-term durability and resistance against wind and weather. Use appropriate fasteners, such as screws with EPDM washers, to securely attach the sheets to the framework. Follow the recommended spacing and placement guidelines provided by the manufacturer.
Chapter 6: Sealing and Finishing Touches
To provide added protection against water infiltration and improve the overall aesthetic appeal, it's crucial to apply sealants and finishing touches. Use a compatible sealant to seal the edges and joints of the polycarbonate sheets. Additionally, consider adding decorative trims or caps to enhance the visual appeal of your roofing project.
Chapter 7: Maintenance and Care
To ensure the longevity of your polycarbonate roofing, regular maintenance and proper care are essential. Follow our maintenance tips and guidelines to keep your roof in excellent condition for years to come.
Conclusion
Congratulations! You have successfully learned how to install polycarbonate roofing. We hope our comprehensive guide has provided you with the necessary knowledge and confidence to tackle your roofing project. Remember, if you have any further questions or need professional assistance, Glass Works Of Texas is here to help.


