Installing Rolled Roofing on a Flat Roof
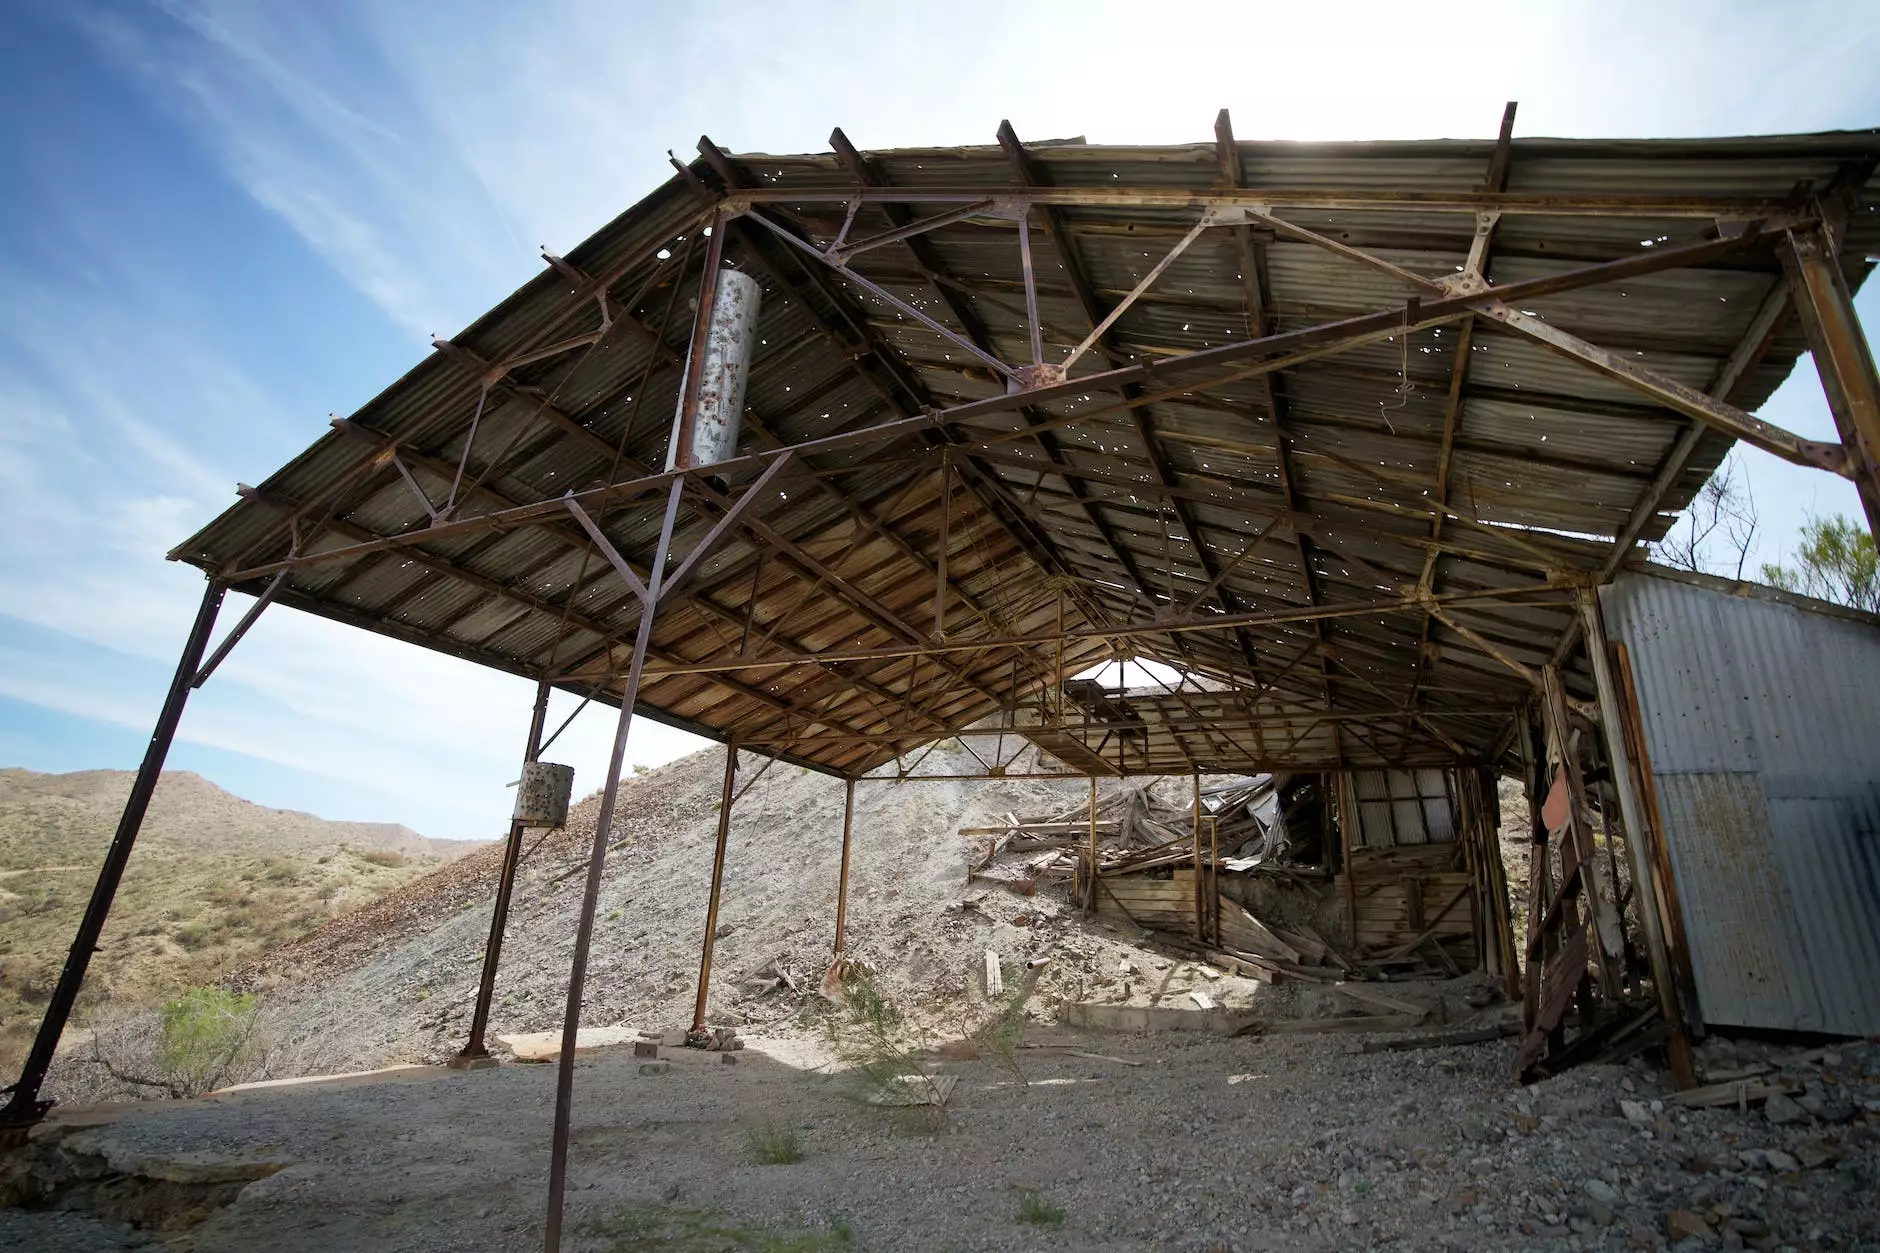
Roofing Issues
The Importance of a Well-Maintained Roof
As homeowners, we understand the significance of a sturdy and durable roof. It not only protects our house and belongings from the elements but also enhances the overall aesthetics and value of our property. In this guide, Glass Works Of Texas will demonstrate how to effectively install rolled roofing on a flat roof to ensure the long-term protection of your home.
Rolled Roofing: A Cost-Effective Solution
Rolled roofing, also known as roll roofing, is a popular choice for flat roofs due to its affordability, versatility, and ease of installation. It is composed of asphalt-impregnated materials and is available in large rolls, making it a suitable option for covering flat roof surfaces.
Materials and Tools Needed
Before we delve into the installation process, let's gather all the necessary materials and tools:
- Roll roofing
- Roofing nails
- Roofing cement
- Roofing adhesive
- Utility knife
- Chalk line
- Roofing nails
- Hammer
- Roofing brush
Step-by-Step Installation Process
1. Preparation and Safety Measures
Prior to installation, ensure your safety by wearing appropriate protective gear, such as gloves and safety goggles. Clear any debris or loose materials from the flat roof surface, and inspect it for any existing damage that needs to be repaired before proceeding.
2. Planning and Measurements
Using a chalk line, mark the roof surface into equal sections for easier installation. Measure the dimensions of the area you will be covering with rolled roofing, accounting for an overlap of at least 6 inches to ensure proper sealing and waterproofing.
3. Applying Roofing Cement
Start by applying a layer of roofing cement along the edges of the flat roof surface. This will serve as an adhesive to help secure the rolled roofing in place.
4. Cutting and Unrolling the Rolled Roofing
Measure and cut the rolled roofing materials according to the dimensions obtained in the previous step. Carefully unroll the roofing material across the prepared sections, ensuring proper alignment and avoiding any wrinkles or creases. Trim off any excess material using a utility knife.
5. Securing the Rolled Roofing
Using roofing nails and a hammer, secure the rolled roofing into place by attaching it to the roof surface. Place the nails approximately 12 inches apart along the edges and seams to provide optimum stability.
6. Sealing the Edges and Seams
Once the rolled roofing is securely in place, apply roofing cement over the edges and seams to create a watertight seal. Use a roofing brush to spread the cement evenly and ensure complete coverage.
7. Finishing Touches
Inspect the installed rolled roofing for any gaps or areas that need additional sealing. Apply roofing adhesive as needed to reinforce the integrity of the roof and eliminate any potential leaks.
Choosing Glass Works Of Texas for Your Roofing Needs
At Glass Works Of Texas, we take pride in delivering exceptional results and unparalleled customer service. With years of experience in the home and garden industry, our expert team specializes in all aspects of roofing, including the installation of rolled roofing on flat roofs.
When you choose Glass Works Of Texas, you can count on our skilled professionals to handle your project with precision and attention to detail. We use only the highest quality materials and follow industry-best practices to ensure your satisfaction and the longevity of your roof.
With our dedication to excellence and commitment to client satisfaction, Glass Works Of Texas is your trusted partner for all your roofing needs. Contact us today to schedule a consultation or request a quote for your next home improvement project!