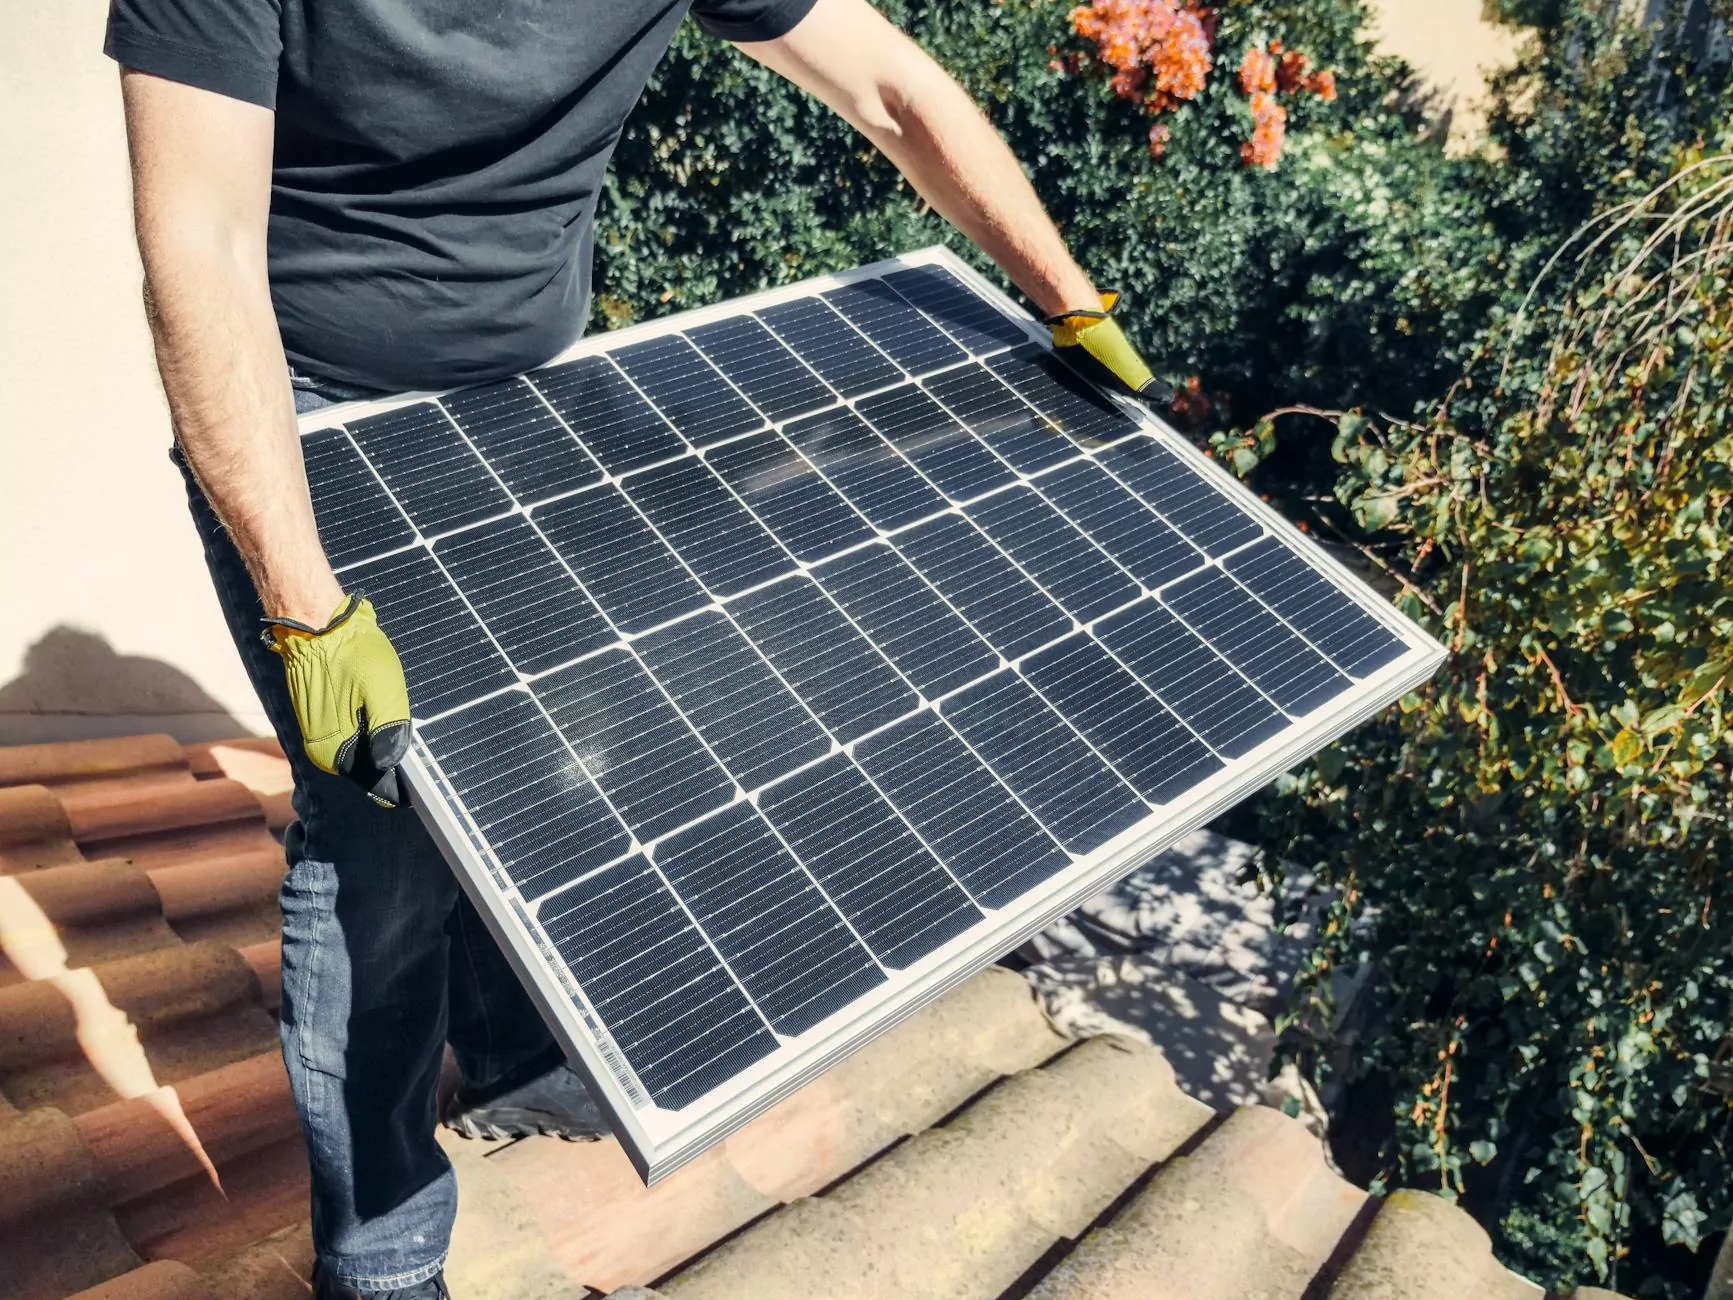
Installing Valley Flashing on Metal Roof
Roof Maintenance
Welcome to Glass Works Of Texas, your trusted partner in home and garden improvements. In this comprehensive guide, we will walk you through the steps of installing valley flashing on a metal roof. With our expert tips and detailed instructions, you can ensure a secure and long-lasting installation that will protect your home from water damage.
What is Valley Flashing?
Valley flashing is a crucial component of any roofing system, especially for metal roofs. It is installed in the valleys of the roof where two roof slopes meet and is designed to channel water away from these vulnerable areas. Proper installation of valley flashing is essential to prevent leaks and potential structural damage.
Materials You Will Need
Before starting the installation process, gather all the necessary materials. Here are the items you will need:
- Metal valley flashing
- Screws or nails
- Roofing sealant
- Tin snips
- Measuring tape
- Chalk line
- Protective gloves
Step-by-Step Guide to Installing Valley Flashing on a Metal Roof
Step 1: Preparation
Start by ensuring the roof surface is clean and free from debris. Remove any existing damaged flashing or nails that may interfere with the installation process. Inspect the area and make sure there are no hidden leaks or damages that need to be repaired.
Step 2: Measuring and Cutting
Measure the length of the valley where the flashing will be installed. Use tin snips to cut the metal valley flashing to the appropriate length, allowing for at least a 6-inch overlap on each side for proper water drainage.
Step 3: Marking the Roof
Using a chalk line, mark the centerline of the valley on the roof surface. This will serve as a guide during the installation process and ensure accurate placement of the flashing.
Step 4: Installing the Valley Flashing
Position the metal valley flashing along the marked centerline, ensuring it is straight and aligned with the roof slope. Secure the flashing to the roof using screws or nails, making sure to drive them through the raised portions of the flashing to prevent water from penetrating.
Step 5: Overlapping the Flashing
If your roof slope consists of multiple sections, overlap the flashing from one section to another by at least 6 inches. This overlapping ensures proper water drainage and prevents leaks at the connection points.
Step 6: Sealing and Waterproofing
Apply roofing sealant along the edges of the flashing and the roof surface to create a watertight seal. This additional layer of protection helps to prevent water infiltration and enhances the durability of the installation.
Step 7: Final Checks
Carefully inspect the installed valley flashing for any loose screws or nails. Ensure that the flashing is securely attached to the roof and there are no gaps or openings that could allow water to seep in.
Contact Glass Works Of Texas for Professional Roofing Services
At Glass Works Of Texas, we specialize in providing top-notch home and garden services. If you need assistance with installing valley flashing on your metal roof or require any other roofing solutions, our skilled team is ready to help. Contact us today for reliable and professional services that will protect your home and enhance its aesthetic appeal.


