How to Patch and Repair Screw Holes in a Metal Roof
Roof Maintenance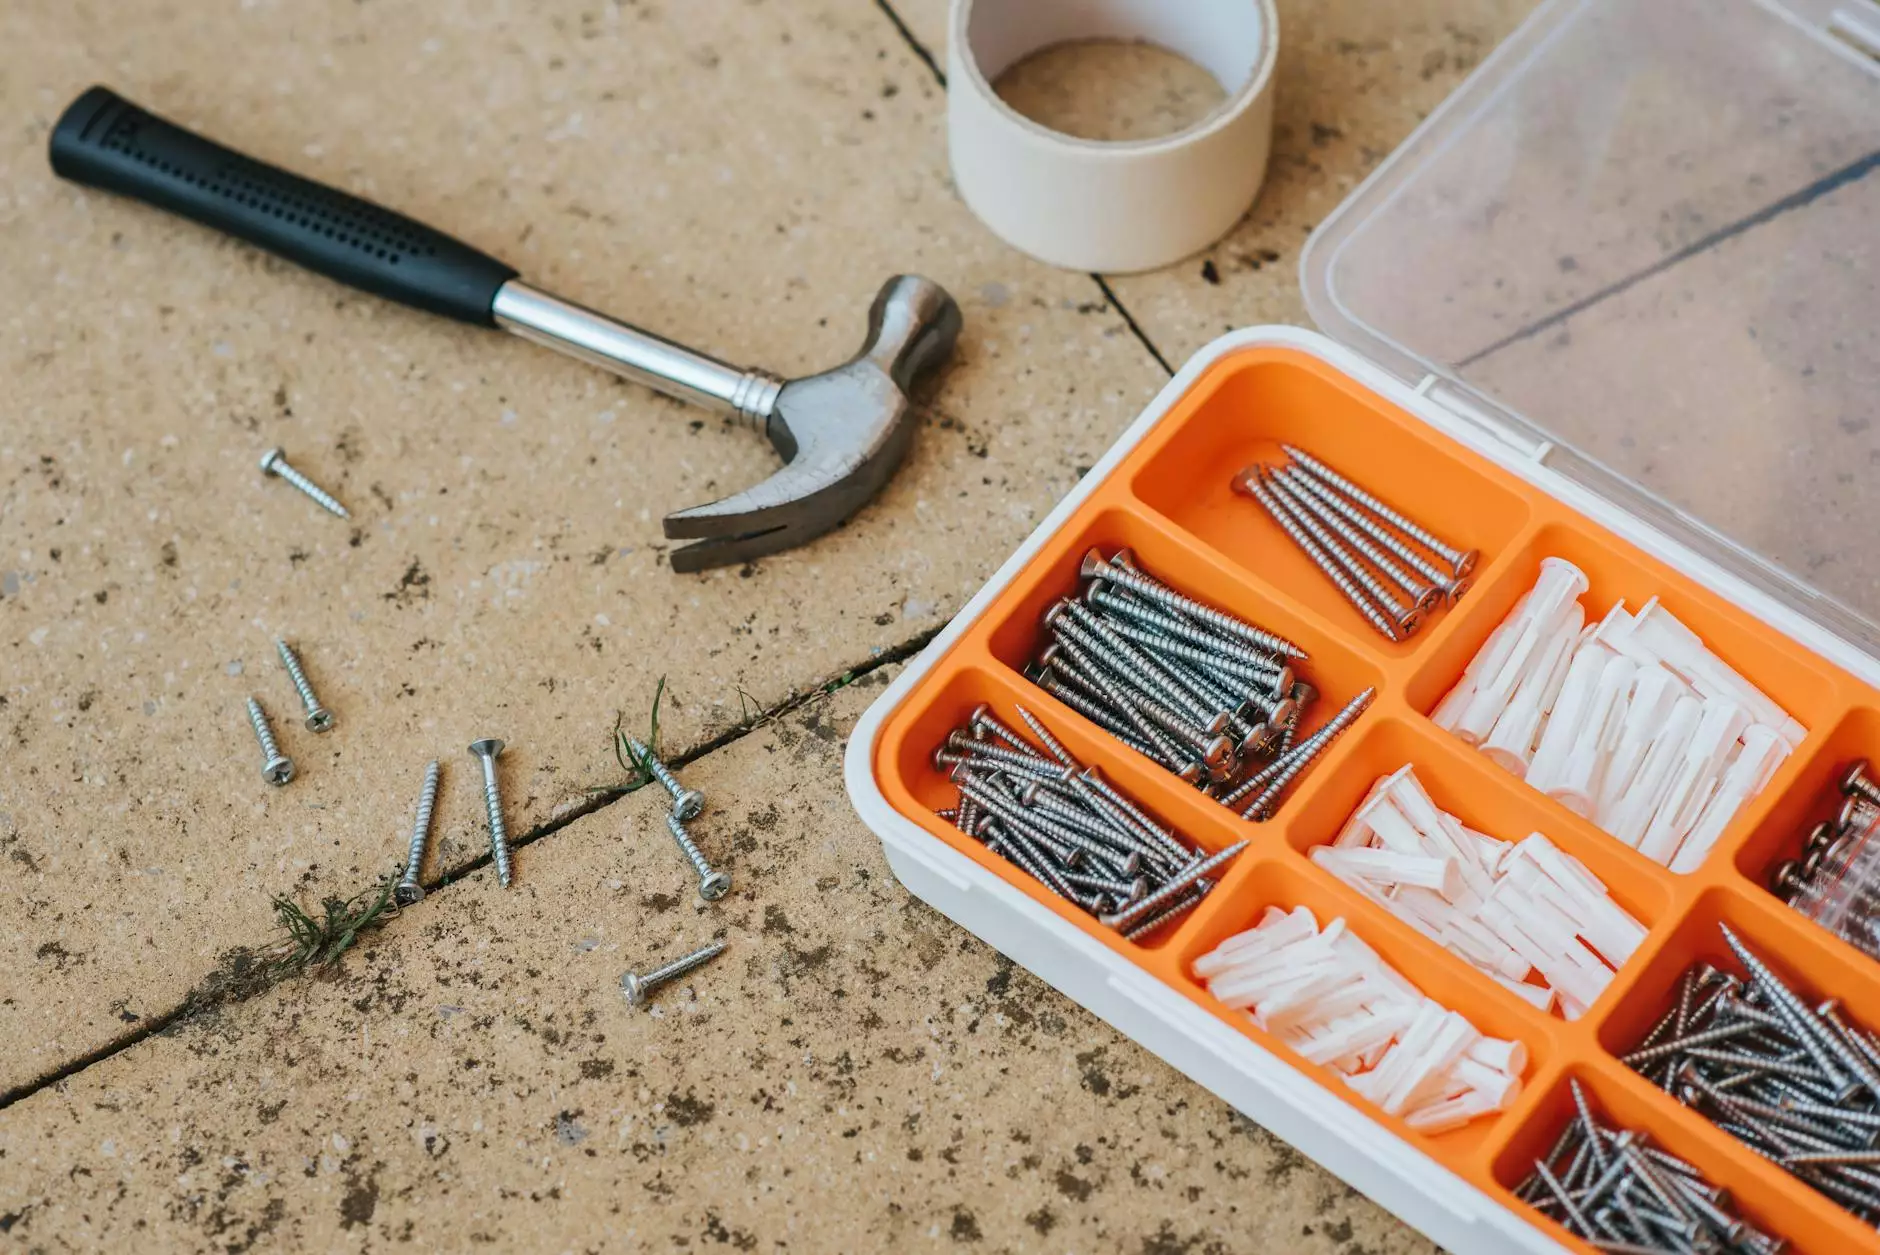
Welcome to Glass Works Of Texas, your go-to expert in handling metal roof repairs. With our extensive experience in the home and garden industry, we understand the importance of maintaining a durable and reliable roof. In this comprehensive guide, we will walk you through the step-by-step process of patching and repairing screw holes in a metal roof.
Understanding Metal Roof Screw Holes
Metal roofs are known for their longevity, strength, and resistance to various weather conditions. However, over time, screw holes may develop due to the expansion and contraction of metal panels caused by temperature changes, as well as the natural aging process. These screw holes can lead to water leaks, compromising the integrity of your metal roof.
Materials and Tools Required
Before we dive into the repair process, it is essential to gather the necessary materials and tools. Here's a comprehensive list:
- Roof patching compound
- Roofing caulk
- Metal roof screws
- Metal roof patching tape
- Putty knife
- Wire brush
- Metal snips
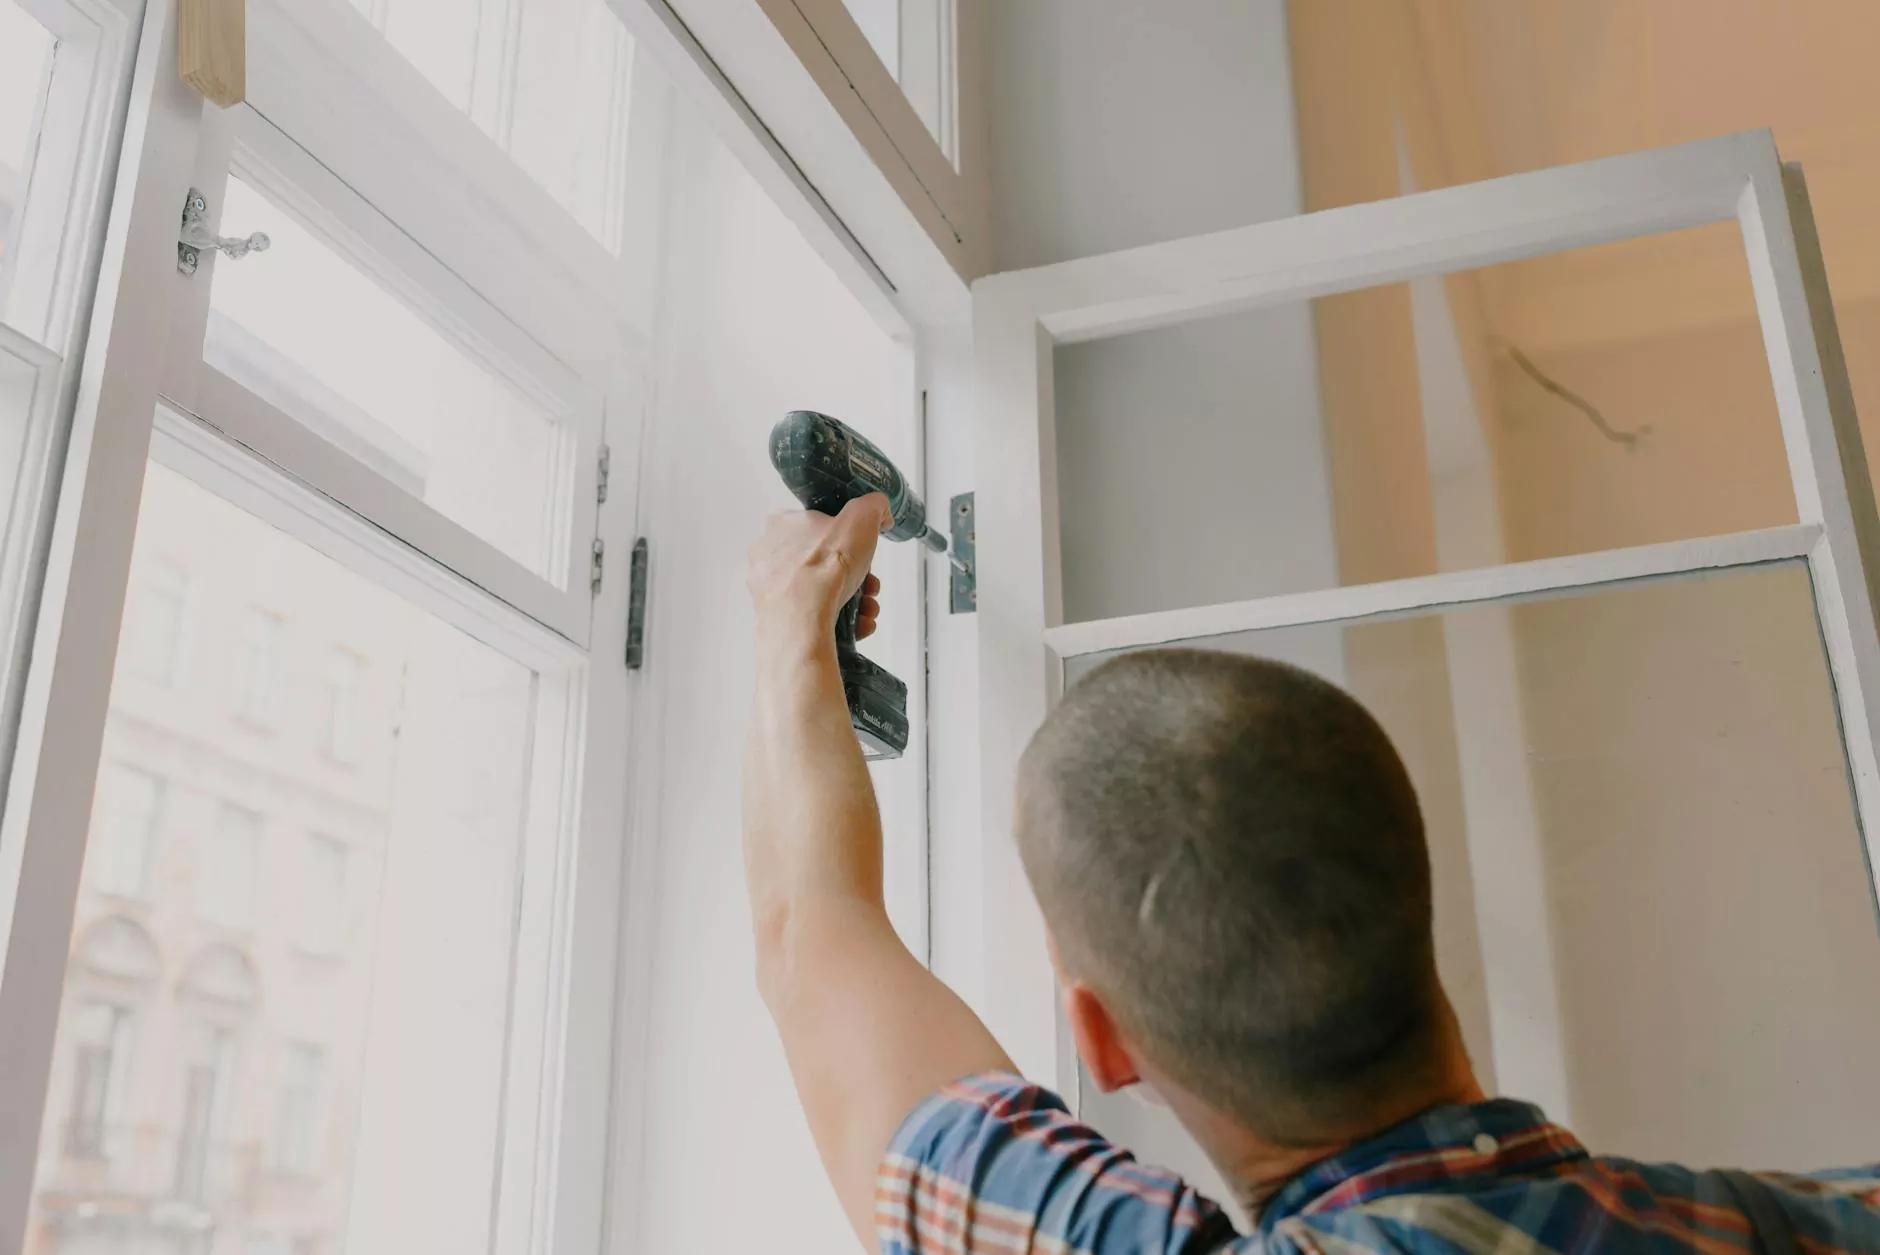
- Drill
- Screwdriver
- Safety gloves and goggles
Step-by-Step Guide to Patch and Repair Screw Holes in a Metal Roof
Follow these detailed instructions to effectively patch and repair screw holes in your metal roof:
Step 1: Safety First
Put on your safety gloves and goggles to protect yourself from any potential hazards.
Step 2: Clean the Area
Using a wire brush, thoroughly clean the area surrounding the screw hole to remove any rust, debris, or loose materials. This ensures proper adhesion of the patching compound.
Step 3: Apply Roof Patching Compound
Take a putty knife and apply the roof patching compound generously over the screw hole. Make sure to spread it evenly, covering the entire damaged area. Smooth out the surface to create a seamless finish.
Step 4: Apply Metal Roof Patching Tape
To reinforce the repair, cut a piece of metal roof patching tape larger than the screw hole. Place it over the patching compound and press down firmly to ensure adherence.
Step 5: Re-screw the Hole
If the original screw is damaged, replace it with a new metal roof screw of the same size and type. Securely fasten the screw in place, making sure it is flush with the surface of the metal roof.
Step 6: Seal the Screw and Patch
Using roofing caulk, apply a bead around the repaired screw hole and along the edges of the metal roof patching tape. This creates a watertight seal, preventing any potential leaks.
Step 7: Final Inspection
Inspect the repaired screw hole, ensuring that the patching compound, patching tape, and caulk are properly applied. Check for any signs of gaps or inconsistencies and make necessary adjustments.
Tips and Recommendations
Here are some additional tips and recommendations to ensure a successful metal roof repair:
- Regularly inspect your metal roof for screw holes or other signs of damage. Catching them early can prevent further issues.
- Consider applying a layer of roof coating over your repaired screw holes for an extra layer of protection.
- If you're unsure about any step in the repair process, it's always best to consult with a professional roofing contractor.
Remember, proper maintenance and timely repairs are crucial in maximizing the lifespan of your metal roof. By following this comprehensive guide on how to patch and repair screw holes in a metal roof, you can ensure the long-term durability and structural integrity of your home.
Choose Glass Works Of Texas for Your Metal Roof Repairs
At Glass Works Of Texas, we specialize in providing top-quality metal roof repair services. Our team of highly skilled professionals combines years of expertise with advanced techniques, ensuring that your metal roof is in excellent condition for years to come.
Whether you require minor screw hole repairs or extensive metal roof maintenance, we have the knowledge and resources to deliver exceptional results. Contact Glass Works Of Texas today and let us help you maintain a secure and beautiful metal roof.

