How To Properly Mount Solar Panels On Roof
Roof Maintenance
Introduction
Welcome to Glass Works Of Texas, your go-to source for expert advice on home and garden improvements. In this comprehensive guide, we will walk you through the process of properly mounting solar panels on your roof. Solar energy is a sustainable and cost-effective way to power your home, and we are here to help you make the most of it.
1. Assess Your Roof
Before starting the mounting process, it is essential to assess the condition and structural integrity of your roof. Inspect for any damages, leaks, or uneven sections. Ensure that your roof can support the weight of the solar panels and make any necessary repairs before proceeding.
2. Determine Placement
Choosing the right location for your solar panels is crucial for maximizing energy production. Consider the orientation and tilt angle, as well as any potential obstructions such as trees or nearby buildings that may shade the panels. Ideally, the panels should face south with a tilt angle close to the latitude of your location.
3. Select Mounting System
There are different types of mounting systems available, including roof-mounted and ground-mounted options. Roof-mounted systems are the most common choice for residential installations, as they utilize the existing roof structure. Research and select a mounting system that suits the design of your roof and meets local regulations.
4. Prepare the Roof
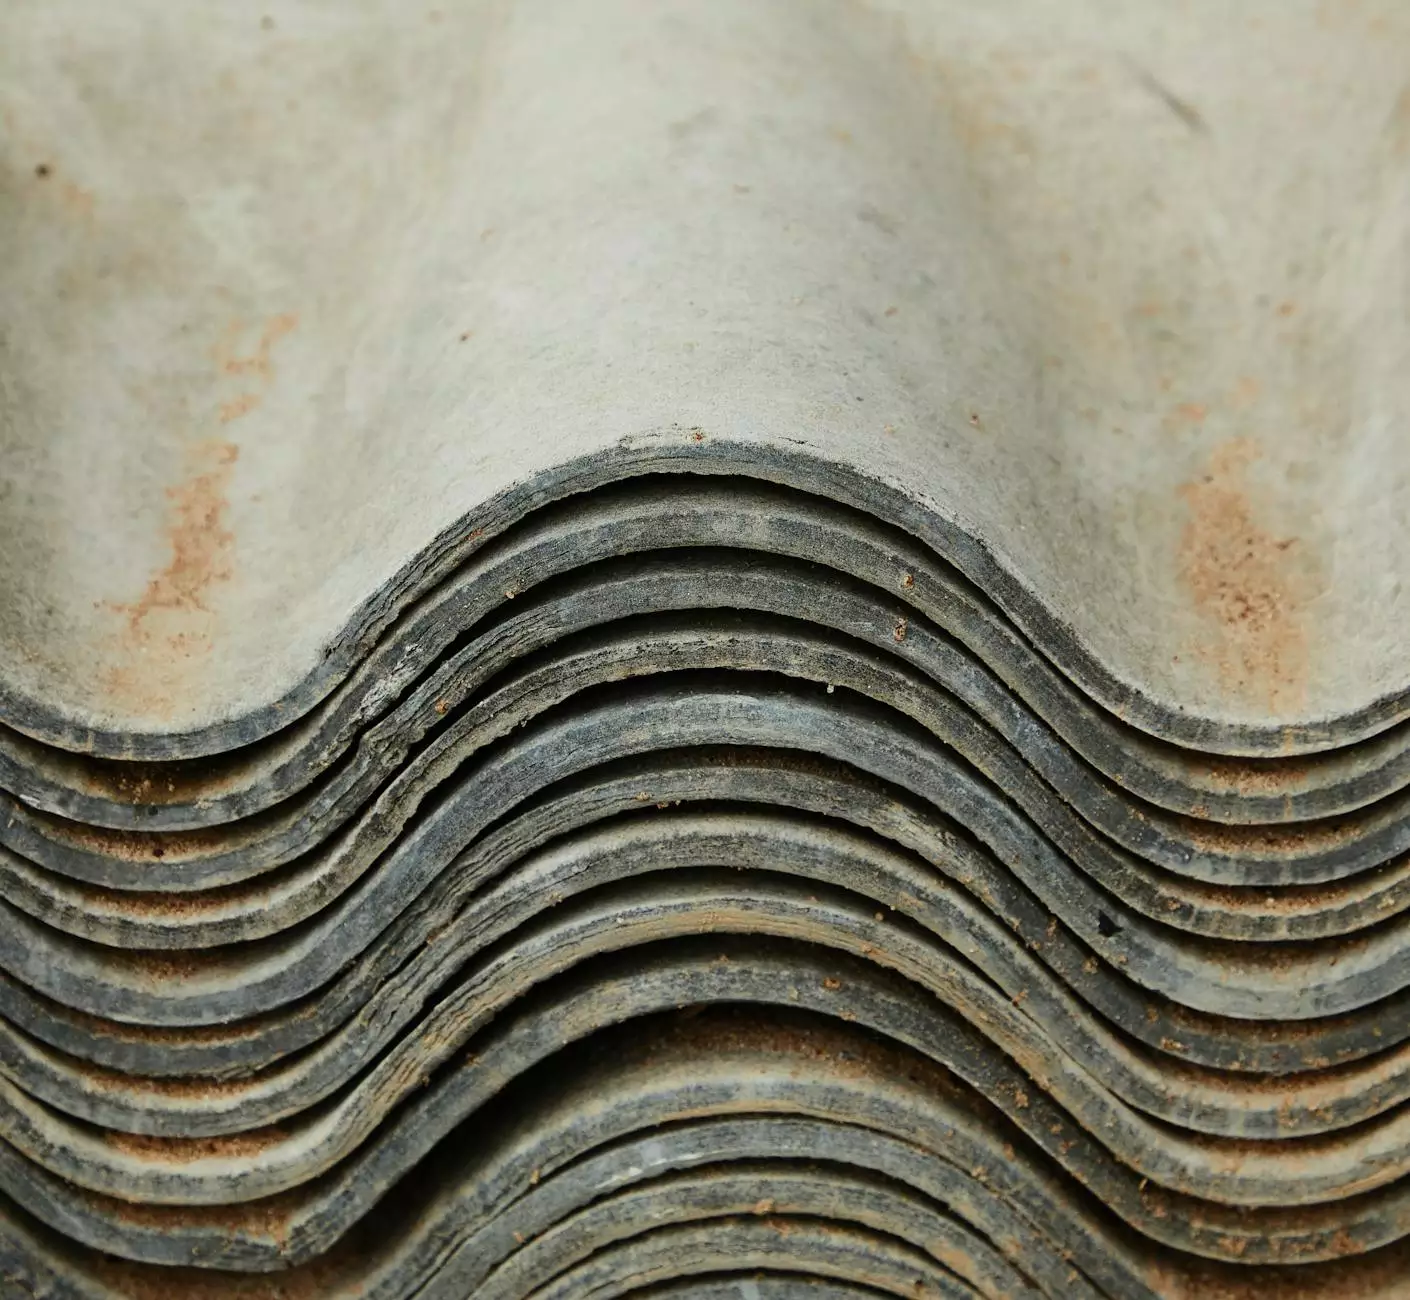
Prior to installation, prepare the roof surface by cleaning it thoroughly and removing any debris. Repair any damaged areas and ensure that the surface is smooth and ready for installation. This step is crucial for maintaining the longevity and effectiveness of your solar panel system.
5. Install Racking and Rails
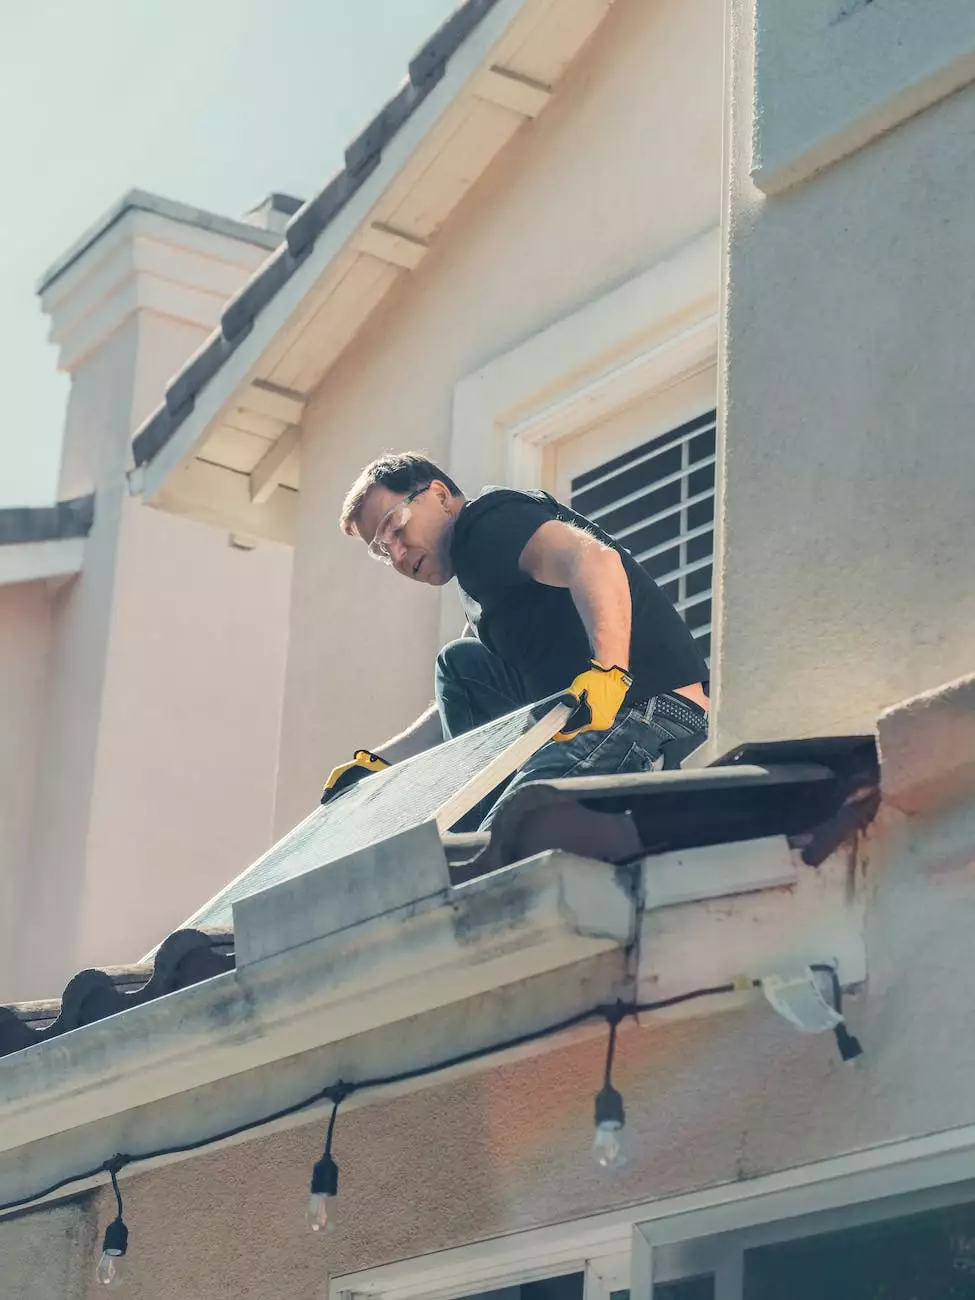
The racking and rails provide the foundation for mounting the solar panels on your roof. Follow the manufacturer's instructions and securely attach the racking system to the roof surface. Carefully align and level the rails to ensure proper panel positioning and stability.
6. Attach Solar Panels
With the racking and rails in place, it's time to attach the solar panels. Handle the panels with care and follow the manufacturer's guidelines for proper installation. Connect the panels securely to the rails, ensuring a tight and secure fit. Double-check the alignment and spacing for uniformity.
7. Wiring and Electrical Connections
Proper wiring and electrical connections are vital for the safe and efficient operation of your solar panel system. Consult with a licensed electrician to ensure compliance with local codes and regulations. Connect the panels to an inverter and a back-up battery system, if desired, for storing excess energy.
8. Secure and Seal
Once the solar panels and electrical connections are in place, it's essential to secure and seal all components properly. Check for any loose bolts or screws and tighten them as necessary. Apply appropriate sealant to prevent water leakage and ensure the longevity of your installation.
9. Monitor and Maintain
Monitoring and maintaining your solar panel system is key to its optimal performance. Regularly inspect the panels for dirt, debris, or shading and clean them accordingly. Monitor the energy production and keep track of any potential issues. Consult with professionals for a periodic inspection to ensure everything is working as intended.
Conclusion
Congratulations! You have successfully learned how to properly mount solar panels on your roof. By following these step-by-step instructions, you have taken a significant step towards harnessing the power of the sun and reducing your carbon footprint. Make sure to consult with professionals for any specific requirements and local regulations.
For more home and garden improvement tips, product recommendations, and expert advice, visit Glass Works Of Texas. We are committed to helping you create a sustainable and beautiful living environment.


